How to Make Fermented Foods at Home: A Beginner Guide
Learn how to make fermented foods at home with this complete beginner guide. From sauerkraut to kombucha and kimchi — boost your gut health with easy DIY fermentation recipes.

What Are Fermented Foods — And Why Is Everyone Obsessed With Them?
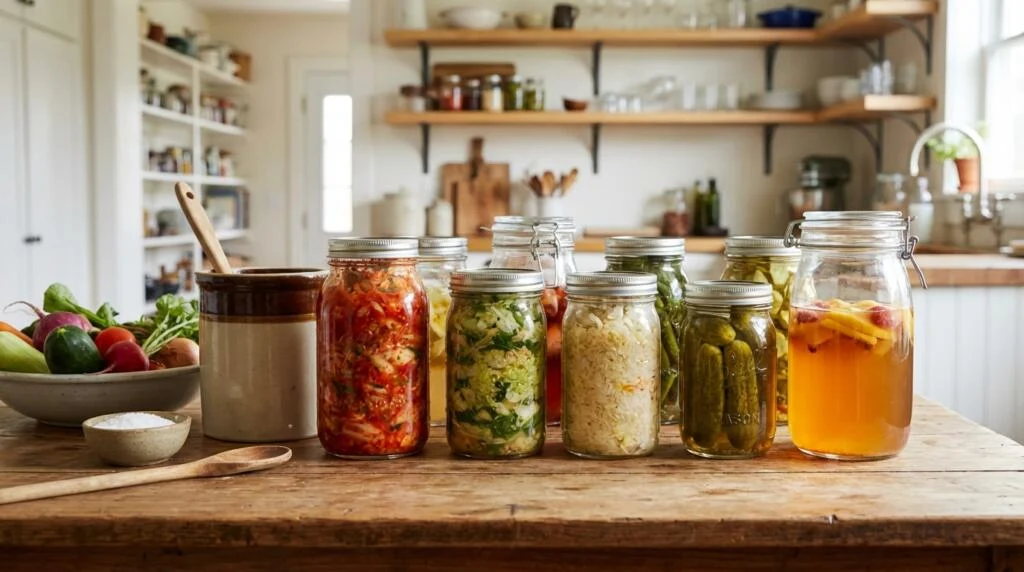
Fermented foods have been consumed for thousands of years across every culture on Earth — from Korean kimchi and German sauerkraut to Indian dosa and Japanese miso. But in recent years, they’ve experienced a massive resurgence as modern science has confirmed what traditional cultures knew intuitively: fermented foods are incredibly good for you.
Fermentation is a natural process where microorganisms like bacteria, yeast, or molds break down sugars and starches in food. This process produces beneficial probiotics, B vitamins, omega-3 fatty acids, and enzymes that support digestion, boost immunity, and improve mental health through the gut-brain connection.
A landmark 2021 Stanford study published in Cell found that people who ate fermented foods daily for just 10 weeks showed significantly increased microbiome diversity and reduced inflammatory markers — even more than those who ate a high-fiber diet.
The best part? Making fermented foods at home is surprisingly easy, incredibly cheap, and requires zero special equipment for most recipes. This guide walks you through everything you need to know to get started.
The Science Behind Fermentation
Before diving into recipes, let’s understand what’s actually happening during fermentation:
- Salt creates the right environment: Salt inhibits harmful bacteria while allowing beneficial Lactobacillus bacteria to thrive
- Bacteria consume sugars: Lactobacillus bacteria feed on natural sugars in the food
- Lactic acid is produced: This acid preserves the food, creates tangy flavor, and makes the environment hostile to pathogens
- Probiotics multiply: Billions of beneficial bacteria colonize the food over days to weeks
- Nutrients are enhanced: Fermentation increases vitamin content and makes minerals more bioavailable
Types of Fermentation
| Type | Organism | Examples | Time Required |
|---|---|---|---|
| Lacto-fermentation | Lactobacillus bacteria | Sauerkraut, kimchi, pickles | 3-14 days |
| Alcohol fermentation | Yeast (Saccharomyces) | Wine, beer, bread | 1-4 weeks |
| Acetic acid fermentation | Acetobacter bacteria | Vinegar, kombucha | 1-4 weeks |
| SCOBY fermentation | Symbiotic colony | Kombucha, kefir | 7-14 days |
Recipe #1: Basic Sauerkraut (The Perfect Beginner Project)
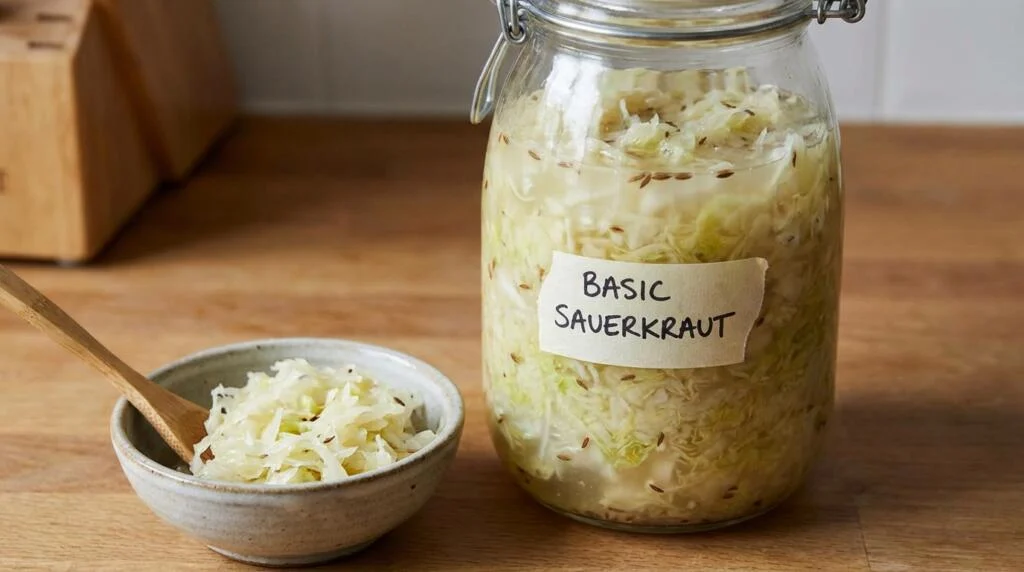
Sauerkraut is the ideal first fermentation project because it requires only two ingredients — cabbage and salt — and it’s almost impossible to mess up.
Ingredients
- 1 medium head of green cabbage (about 2 lbs)
- 1 tablespoon fine sea salt (non-iodized)
Equipment
- Large bowl
- Clean quart-size mason jar
- Something to pack the cabbage down (wooden spoon or your fist)
Step-by-Step Instructions
- Shred the cabbage: Remove the outer leaves (save one). Quarter and core the cabbage, then slice into thin ribbons.
- Salt and massage: Place shredded cabbage in a large bowl, sprinkle with salt. Massage vigorously with your hands for 5-10 minutes until the cabbage releases liquid (brine). You should have enough liquid to submerge the cabbage.
- Pack the jar: Transfer cabbage and all its liquid into a clean mason jar, pressing down firmly with your fist or a wooden spoon. The cabbage must be completely submerged in its own brine.
- Weight it down: Place the saved outer cabbage leaf on top and press a smaller jar filled with water inside to keep everything submerged.
- Ferment: Cover loosely with a cloth or loose lid (don’t seal tight — CO2 needs to escape). Place in a cool, dark spot (65-75°F / 18-24°C).
- Wait and taste: Start tasting after 3 days. Ferment for 7-14 days depending on your taste preference. Cooler temperatures = slower, more complex fermentation.
- Store: Once it tastes right, seal with a tight lid and refrigerate. It will keep for 6+ months.
Golden Rule of Fermentation: Keep it submerged, keep it salted, and keep it at the right temperature. If these three conditions are met, harmful bacteria physically cannot survive. The process is far safer than most people think.
Recipe #2: Quick Kimchi (Ready in 24 Hours)
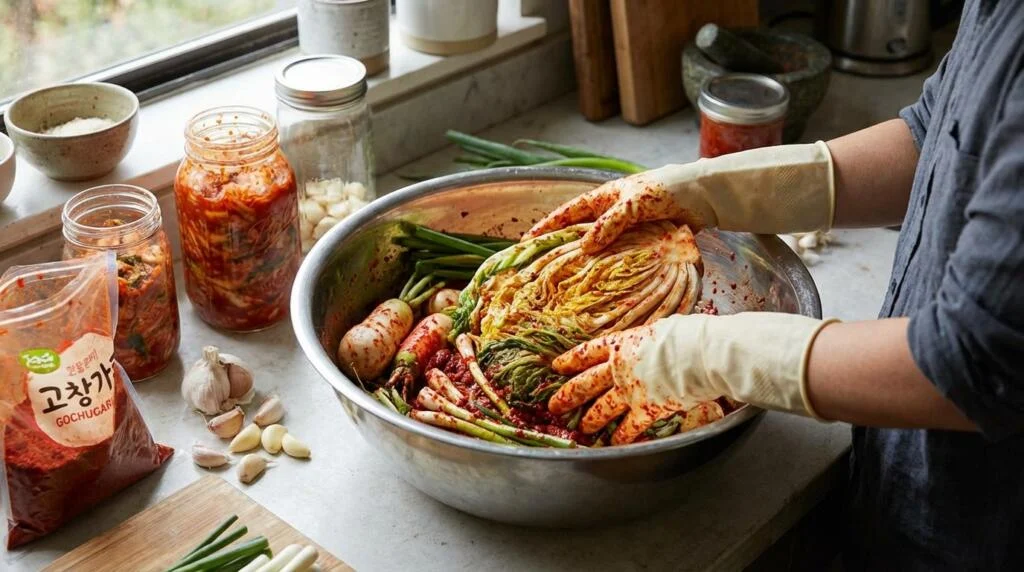
Traditional kimchi takes several days, but this quick version gives you authentic flavor in just 24 hours. It won’t be as complex as a weeks-long ferment, but it’s an excellent introduction to Korean fermentation.
Ingredients
- 1 medium napa cabbage, chopped into 2-inch pieces
- 2 tablespoons sea salt
- 3 tablespoons gochugaru (Korean chili flakes)
- 2 tablespoons fish sauce (or soy sauce for vegetarian)
- 1 tablespoon grated fresh ginger
- 4 cloves garlic, minced
- 1 teaspoon sugar
- 3 green onions, chopped
- 1/2 daikon radish, julienned (optional)
Instructions
- Salt the cabbage: Toss cabbage with salt in a large bowl. Let sit for 2 hours, tossing occasionally. The cabbage will wilt and release liquid.
- Make the paste: Mix gochugaru, fish sauce, ginger, garlic, and sugar into a paste.
- Combine: Rinse cabbage thoroughly. Squeeze out excess water. Toss with paste, green onions, and daikon. Mix with your hands (wear gloves — gochugaru stains).
- Pack into jar: Press kimchi tightly into a jar, pushing out air pockets. Leave 1 inch of headspace.
- Ferment: Leave at room temperature for 24 hours, then refrigerate. It’ll continue to develop flavor over the next week.
Recipe #3: Homemade Kombucha
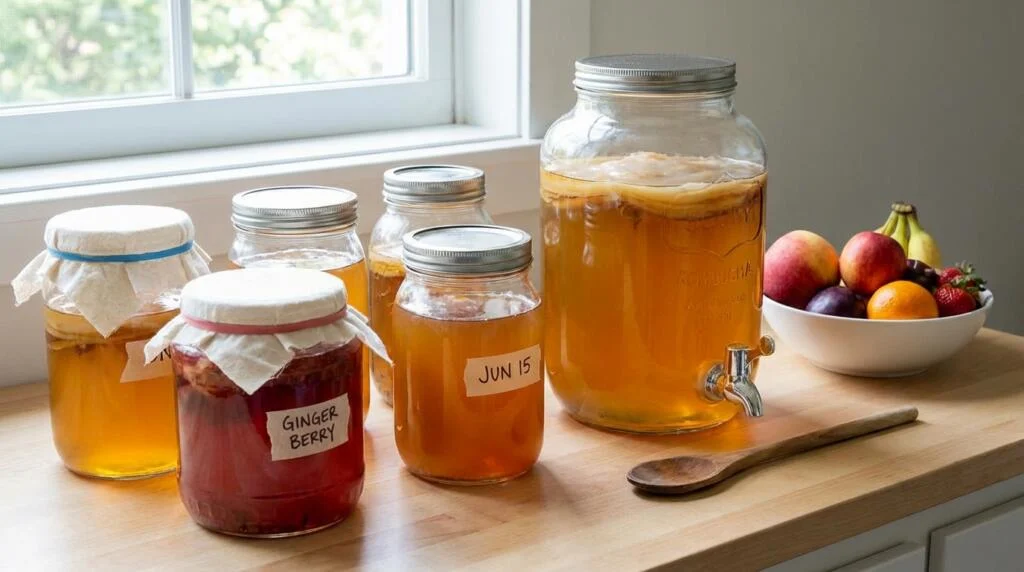
Kombucha is a fermented tea drink known for its tangy, slightly effervescent taste and probiotic benefits. You’ll need a SCOBY (Symbiotic Culture of Bacteria and Yeast) to get started — you can buy one online, get one from a friend who brews, or grow one from a bottle of raw, unflavored store-bought kombucha.
First Fermentation (7-10 Days)
- Brew 4 cups of black or green tea with 1/2 cup sugar. Let cool to room temperature.
- Pour into a large glass jar. Add 1/2 cup starter liquid (from previous batch or store-bought kombucha).
- Place the SCOBY on top.
- Cover with a cloth secured with a rubber band. Do NOT seal tight.
- Place in a warm spot (70-80°F / 21-27°C) away from direct sunlight.
- Wait 7-10 days. Taste daily after day 5. When it’s tangy but not too vinegary, it’s ready.
Second Fermentation — Carbonation (2-3 Days)
- Remove the SCOBY and reserve 1/2 cup liquid for your next batch.
- Pour kombucha into swing-top bottles, leaving 1 inch headspace.
- Add 1-2 tablespoons of fruit juice, grated ginger, or mashed fruit per bottle for flavoring.
- Seal tightly and leave at room temperature for 2-3 days. The sealed environment traps CO2, creating natural carbonation.
- “Burp” bottles daily by briefly opening the cap to release excess pressure (prevents explosions!).
- Refrigerate when fizzy. Enjoy within 2 weeks.
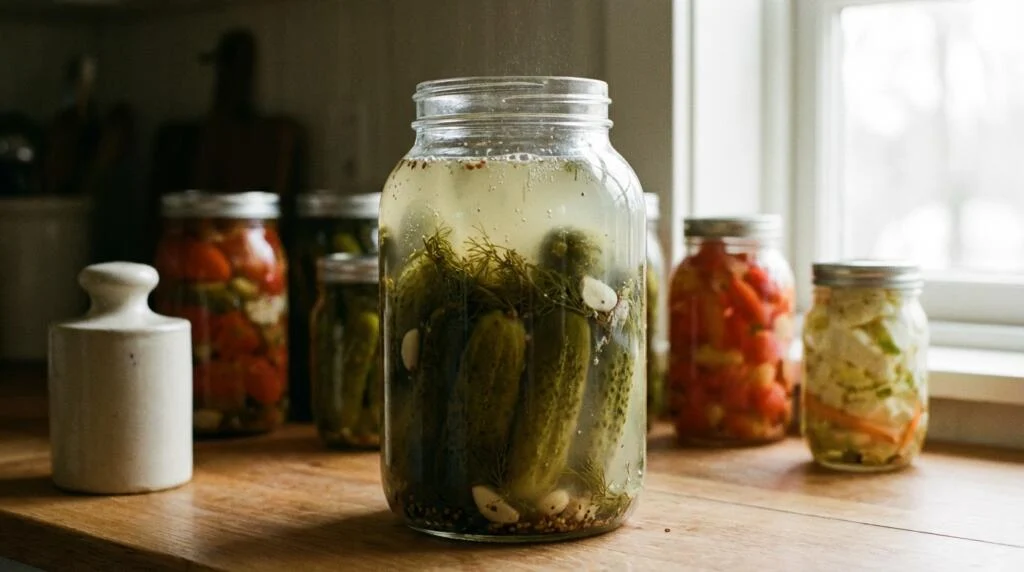
Recipe #4: Fermented Pickles (Naturally Fizzy Dill Pickles)
Ingredients
- 1 lb small pickling cucumbers
- 2 tablespoons sea salt
- 4 cups filtered water
- 4 cloves garlic, smashed
- 2 sprigs fresh dill (or 1 tsp dill seed)
- 1 tsp whole black peppercorns
- 1 grape leaf or oak leaf (optional — provides tannins that keep pickles crunchy)
Instructions
- Dissolve salt in water to create brine.
- Pack cucumbers vertically in a big jar with garlic, dill, peppercorns, and leaf.
- Pour brine over cucumbers until fully submerged.
- Cover loosely. Ferment at room temperature for 3-7 days.
- Taste daily. Transfer to fridge when they reach your desired tanginess.
Fermentation Troubleshooting Guide
| Problem | Cause | Solution | Is It Safe? |
|---|---|---|---|
| White film on surface | Kahm yeast — harmless | Skim it off and continue | Yes — perfectly safe |
| Pink/red mold | Harmful mold contamination | Discard the entire batch | No — do not eat |
| Too salty | Over-salting | Rinse before eating; use less salt next time | Yes |
| Too sour | Over-fermented | Refrigerate immediately; ferment less time next batch | Yes |
| Mushy texture | Too warm or too long | Ferment at cooler temps; add tannin source (grape leaf) | Yes |
| Bubbling over | Active fermentation | Normal! Place jar on a plate to catch overflow | Yes |
| Smells very bad | Contamination | Discard — it should smell sour/tangy, not rotten | No |
Essential Fermentation Safety Rules
- Always use non-iodized salt — iodine kills beneficial bacteria and prevents fermentation
- Use filtered water — chlorine in tap water can kill the bacteria you need
- Keep everything submerged — food exposed to air above the brine can mold
- Use clean (not necessarily sterile) equipment — wash with hot water and soap; no need for sanitization
- Trust your senses — if it smells rotten (not just sour), has colorful mold, or looks off, discard it
- Never seal fermentation jars tightly — CO2 needs to escape during active fermentation to prevent pressure buildup
Frequently Asked Questions
Is homemade fermentation safe?
Extremely safe. The lacto-fermentation process creates an acidic environment (low pH) that physically prevents harmful bacteria from surviving. There has never been a documented case of food poisoning from properly made lacto-fermented vegetables. The lactic acid produced by beneficial bacteria acts as a natural preservative.
How do I know if my ferment has gone bad?
A healthy ferment will smell tangy, sour, and slightly funky — similar to vinegar or yogurt. If it smells putrid, rotten, or like garbage, discard it. Visual signs of trouble include fuzzy colored mold (black, blue, green, pink). White film on the surface (kahm yeast) looks concerning but is completely harmless — just skim it off.
Can I ferment without salt?
Salt is essential for safe lacto-fermentation. It creates an environment where beneficial bacteria thrive while harmful bacteria cannot survive. You can reduce salt slightly (minimum 2% by weight of vegetables), but eliminating it entirely risks contamination.
How much fermented food should I eat daily?
Start with 1-2 tablespoons per day and gradually increase to 1/4 to 1/2 cup. If you eat too much too soon, the sudden influx of probiotics can cause temporary bloating and gas as your gut adjusts. Most people can comfortably eat 1/4 cup of fermented foods with each meal after about 2 weeks.
Do I need special equipment?
No! All you need is a glass jar, sea salt, and the vegetables you want to ferment. Specialized fermentation crocks and airlocks are nice to have but entirely optional. Mason jars with loose lids work perfectly for beginners.
The Bottom Line
Fermentation is one of the oldest, safest, and most beneficial food preparation techniques in human history. Starting with simple sauerkraut or quick kimchi requires minimal ingredients, zero cooking, and just a few minutes of active preparation. The probiotics you’ll produce at home are fresher, more diverse, and far more potent than anything you can buy in a supplement bottle. Start small, trust the process, and your gut — and taste buds — will thank you.



Reader reviews
No reviews yet. If you have made this article, you will be the first to say how it went.
Did you make this?
Tell us how it actually went — including if something did not work. Reviews are read before they are published.